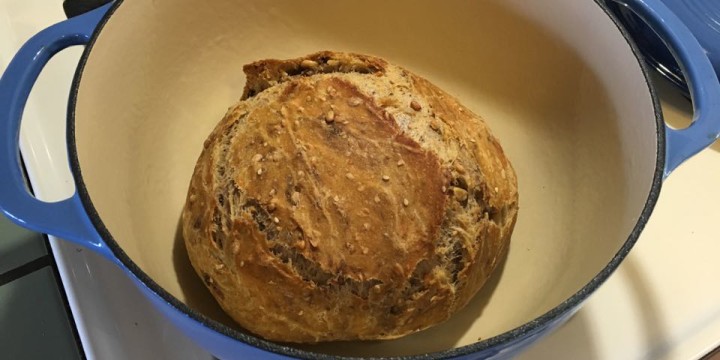
Way Too Easy Bread
- December 2015
- Recipes
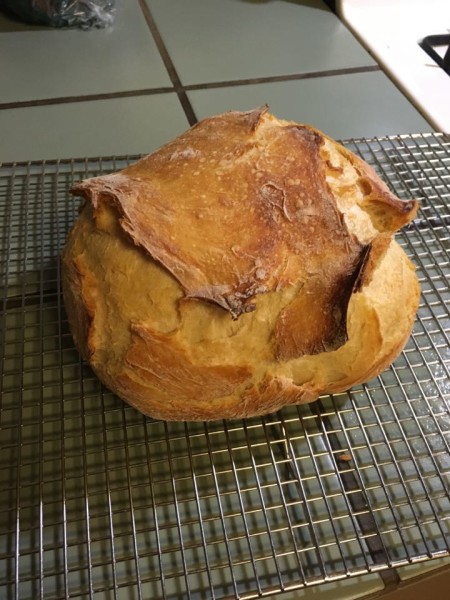
I have a weakness for really good bread, with a crusty crust and chewy, bubbly inside. If you can even find bread like this (you can’t in Moab), it costs at least $5 a loaf AND it requires going to a store. If you love good bread and you dislike spending any time making it, this recipe is for you! This is actually faster and easier than going to the store, and there is no kneading involved whatsoever. It also costs less than $1 a loaf. No, this is not a joke!
You’ll need a couple of key items: a 2 quart pyrex pitcher with a lid (or something equivalent–you can do a bowl with saran wrap, but if you start making this bread with any frequency you’ll want to get the pyrex pitcher) and a dutch oven or a large metal stockpot with a lid or an oven-safe large casserole dish with a lid. If you don’t have any of these pot type items, you will definitely find one of them at a thrift store for less than $5.
You’ll also need:
3 cups unbleached bread flour (you can also substitute 1 cup of wheat flour, I often do)
1 1/2 tsp salt
1 1/2 cup warm water
1 tsp yeast
optional: some sunflower seeds, sesame seeds and chopped walnuts (I add these if I’m doing the wheat version)
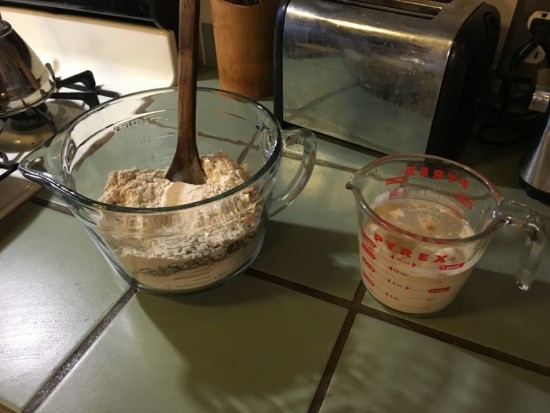
In a small bowl or small pyrex measuring cup, stir the yeast into the warm water. In the 2 quart pitcher, stir the salt into the flour (and the nuts if you’re using them). Now pour the water/yeast mix into the flour and stir with a sturdy wooden spoon just until all the flour is stirred in. Don’t stir it more, or the bread won’t have big air bubbles in it. Plus, that would be extra work and we’re not doing that.
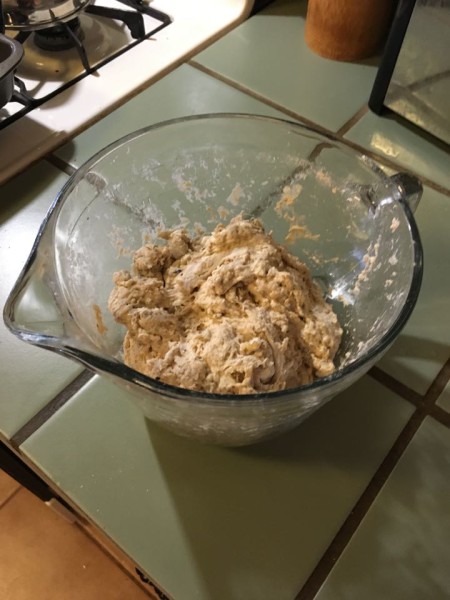
Put the lid on the big pitcher and set it on your kitchen table or somewhere warm-ish in your house. Let it sit there for 12-24 hours. The longer it sits, the yeastier your bread will taste. I like to let it go 24 hours.
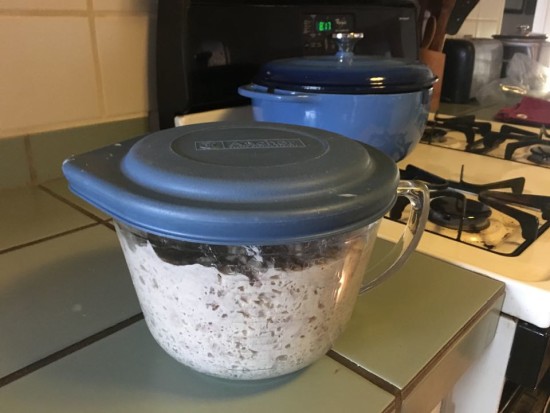
The next day, put your large vessel (dutch oven, stockpot or casserole) in your oven and heat it to 450.
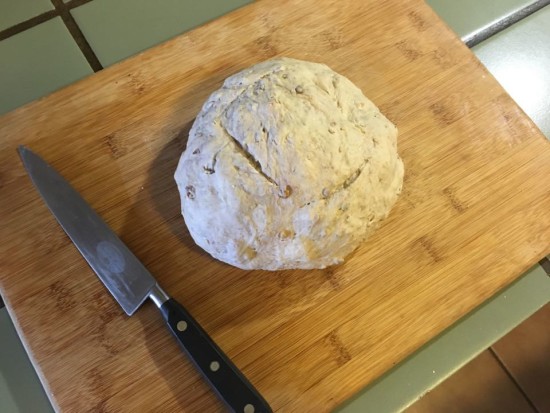
Meanwhile, pull the dough out of the pyrex pitcher and shape it into a ball (use a little flour on the counter or cutting board if it’s too sticky). Take a sharp knife tip and score a square shape on top of the ball.
When the oven reaches 450, place the ball inside your vessel and cover it with the lid. Bake for 30 minutes. After 30 minutes, remove the lid so the bread can brown. Bake another 15-30 minutes, depending on how brown you like it.
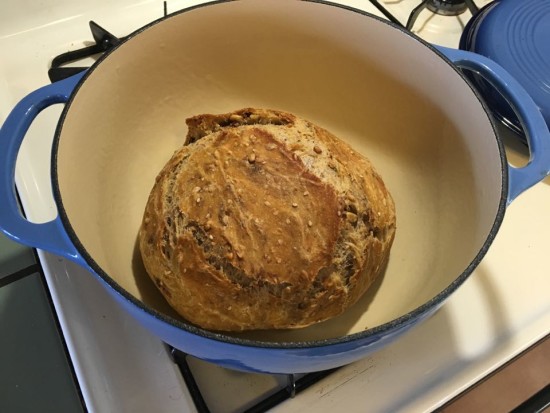
Take it out and let it cool–don’t cut it before it’s completely cool or it will be a little doughy inside. This is the crux.
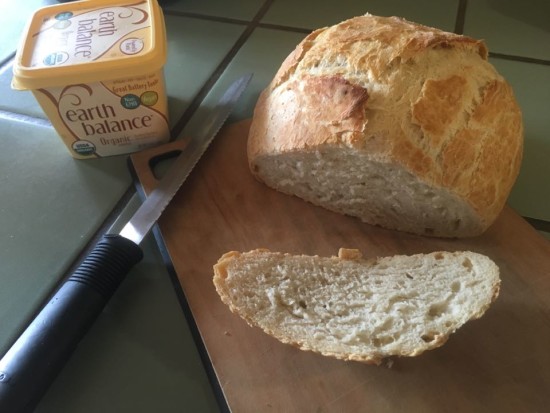
Mix up another batch of dough for tomorrow.
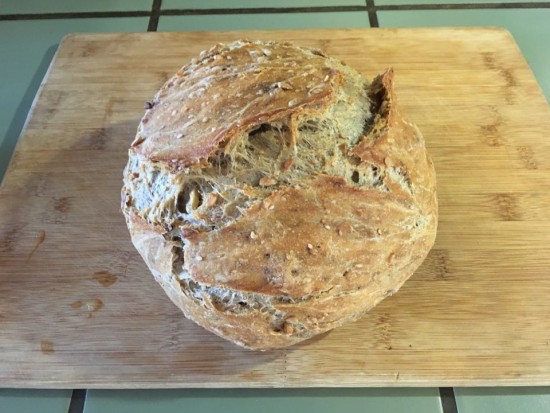
Enjoy!!


This recipe change my life 3 years ago. Baking bread is so much easier now!
This recipe! You said baking bread was complicated ?
This recipe changed my life 3 years ago! Ha! Who knew baking bread was easy?
This is a great recipe. No need to buy a container. Just go to Dunkin Donuts or someplace where they get remade mixes in that size (maybe 2 gallon) bucket with lid. Wash and reuse it endlessly. My husband says you can wash and use a sheetrock bucket too 🙂
Ummmmm survival food 🙂
there’s a heart on that crust 🙂
🙂
yes!
Wow, this is so awesome! Definitely trying this soon with my kids! Great for parents with no time for invoked recipes (even if they still dream of making involved recipes!) thanks for a great early holiday gift! 🙂
I’m doing it 🙂
Looks good
Damn it looks good. Only let it sit for 12 hours, and it rose a lot. Already started another one, I’ll let that one sit for a full day.
I love the second one sit for 30 hours. it’s in the oven, now the whole house smells like yeast 🙂
My second attempt, poppy & sesame loaf
I can’t say enough this bread recipe. Hard crusty flavorful outside, moist dense yeasty inside. Made some lobster toast with it, wow!
Thanks so much for sharing this Steph. 🙂
I’m so glad! looks perfect 🙂
I hope you enjoyed it!
I did! And, most importantly so did my kids… it didn’t last long!
I used the yeast I had in the house and it was quick rising yeast. I think that was overkill since I had to keep punching it down several times over 24 plus hours. I’ll try regular yeast next time. And in learning more about yeast, I found out there are at least four different kinds. Will continue to experiment and have fun! Thanks so much… way awesome recipe!
So good! This may be the most perfect recipe ever. Thank you Stef :-)!
Delicious! Question: I’m finding my dough tends to pancake-out before I bake it. Any suggestions for making it a little bit stiffer so it will stand up in more of a ball shape? Thanks!
[…] came across this recipe here on a Steph Davis’s blog, a climber/base jumper/ knows her way around the dirbaglifestyle. It seemed too good to be tasty, […]
This happened to my mom too: I think the dough may be a little too wet, so I would try using just a little more flour and see if the ball stays taller.
[…] you’ve gotten into making Way Too Easy Bread, then you know how simple it is to mix up the bread dough. Here’s a way to take one of those […]
Just made this. Turned out great, and the bread is making wonderful crackling noises!
great!
Thanks for the great recipe, Steph! I used part white flour, part spelt flour, and part whole wheat bread flour bc that’s what I had and it turned out great. This is the first time I’ve made bread not using a bread machine and this turned out much better. Do you ever grease your pot? My loaf was a little stuck to the bottom.
I’m glad!