How to Build a Campus Board
Winter in Moab is generally an excellent season for climbing, if it’s sunny, but it’s also a great time for training. In the last few years I’ve combined climbing on my backyard wall with lifting weights in the gym. Encouraged by a small increase in power this summer after a solid month at Rifle, I decided to try something different this winter: instead of lifting weights, I’m going to do only climbing specific training. This is something I’ve never done before and this means I hope it’s a sunny winter since my training items are all outside: a climbing wall, a fingerboard, and now a brand-new campus board courtesy of my friends at Metolius who supplied the rungs, and my handy husband Mario who made it for me 🙂
I actually had the rungs for about a month before Mario built the board. We were cruxing out on where to put it, at first trying to figure out how to squeeze it into the climbing wall area in order to make use of the wall supports. One day I suddenly realized we could build it off the shed which totally solved all the problems (needing a support frame and a flat, open area in front of it for landing) and Mario got busy. Within 2 days, I became the proud owner of an awesome outdoor campus board!
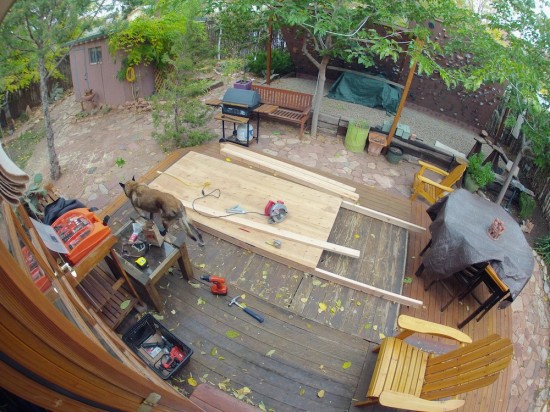
I have never done much campusing, and so I didn’t have a lot of opinions or preferences about a board when we were getting into the specifics of exactly what and how. I decided to follow what I was told by my more experienced friends, which is what I always do when I myself am clueless. This Metolius guide is an excellent resource, to get started. Everyone I talked to said you want the angle to be 15 degrees, and you want to space the rungs 22 cm apart, so that part was for sure. I had 10 each of the large, medium and small rungs. So with a little quick calculation (laying out the rungs on the floor), we realized that using all 3 sizes side-by-side, and setting them 22 cm apart would perfectly fill a sheet of 4×8 plywood. So we decided that would be the size of the board. I also knew that you want to raise the bottom of the sheet at least 4 feet off the ground…the only problem there is that the top becomes about 12 feet tall, which means if you pitch off the top you will fall pretty far. But I figured I don’t have to actually campus that high if I don’t want to, and it’s always better to go bigger than smaller, especially with the pretty open ceiling limitation of my location.
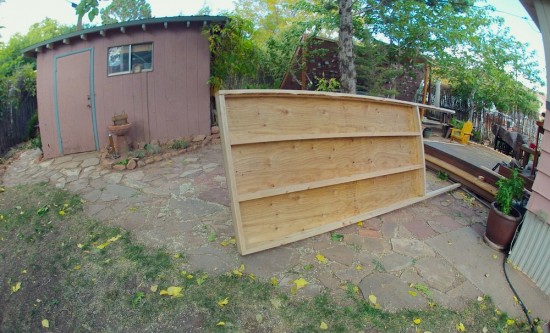
So Mario framed the board with the sheet of plywood.
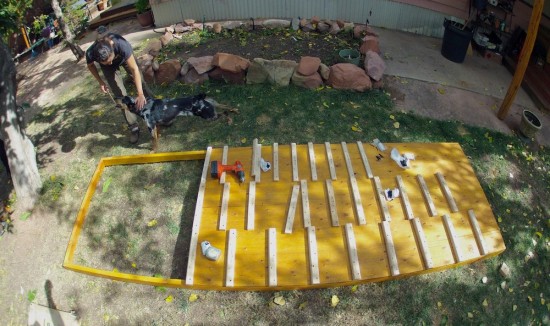
The next project was to screw down the rungs. At this point I had to think seriously about the spacing and the height and was keenly aware of my lack of preference or knowledge…. I figured with the big rungs, I’d be fine with the standard 22 cm spacing, and probably even with laddering up to the top of the board even though it would be 12 feet tall. But I sincerely doubted that I’d be instantly campusing 12 feet off the deck (or even getting that far) on the small and medium rungs. My friend Beth said that on her board, they added extra rungs at half-height between them all, which seemed like a great idea for the smalls and mediums. But I only had 10. Finally I decided to set the medium ones slightly closer together than 22 cm, and the small ones slightly closer still. We figure we can always change them if I want them farther in the future, but at a certain point you just have to make a decision and move forward to start with.
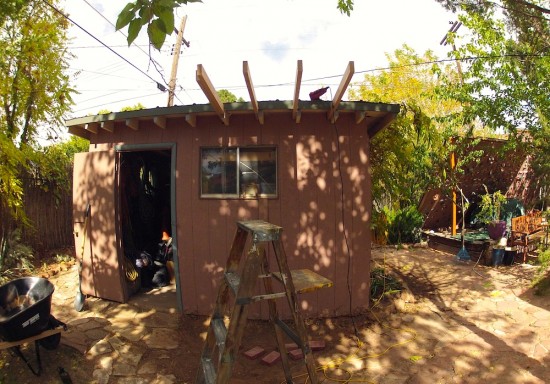
Mario added some support beams to the top of the shed roof from the inside out and used 1/2 inch bolts on all the support joints (probably strong enough so 5 people can campus at once, but that’s how he likes to build stuff).
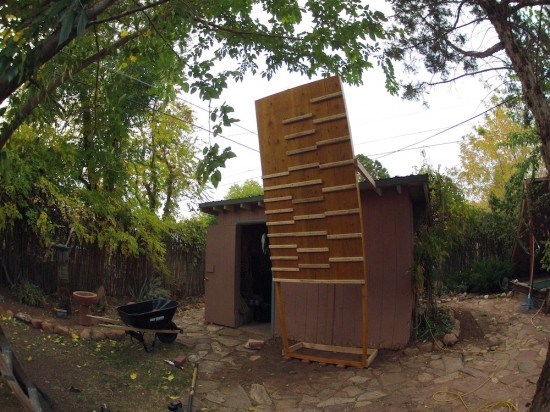
We lifted the board up and bolted it in. At that point I was totally happy, but of course Mario decided to put some UV treatment on the plywood and the bottom half of each (!) rung, and then cover the top and back with some extra metal roofing we had leftover.
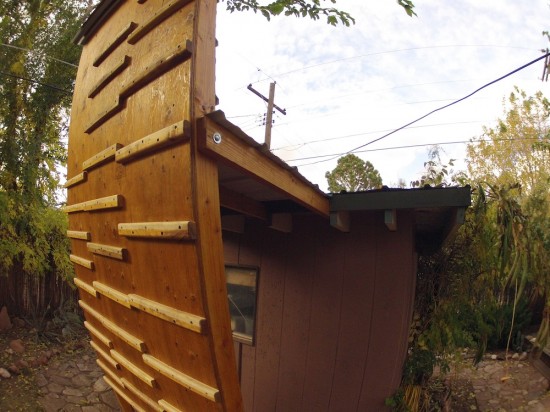
It’s definitely tall!
I have started to use it, VERY judiciously as everyone warns, and will post a follow-up soon on “how to use a campus board” 🙂 Having used it some, I see that I’d probably be happy with a 4×6 board if I didn’t have the height to go the full 4×8 size of the plywood–especially since the smalls/mediums are not going up to the full height. But it is definitely nice to have the big rungs going all the way, since we do have the space (though I wouldn’t want them any higher!).
A few changes I’d make already: if it’s possible to build the board without support legs going to the ground, you won’t have anything in the way of your legs when you start off the ground (in our case, this would have been hard). If we do move the rungs, I’ll put the big ones in the center lane next time, since I usually start on the very bottom rung on the bigs and a couple rungs higher on the smalls and mediums where the support legs don’t get in my way as much. And 4 feet off the ground still puts me in a somewhat awkward crouching position to get going on the very first rung of the bigs: tall people might want to set it up even higher, but then there’s the whole issue of height limitations and not wanting the board to get TOO tall. So maybe ideally, your board would be 4×6, and you would set it 5-6 feet off the ground. Other than that, so far I think it came out about perfect.
After only 3 workouts (one per week so far, only 10-15 minutes each, not including warming up and warming down which turns it into about an hour and a half), I’m shocked at how much easier some of my “hard” problems are feeling on the climbing wall….I guess it’s working!




I’m curious: what is the reason behind 15° as the optimal angle?
apparently if it’s too steep, you don’t work your fingers the same way. so everyone says 15-20 degrees is the best.
[…] climbing up at the Cat Wall a couple of months ago, and I was telling Kingsley all about my great new campus board that Mario built me, and how excited I was about campusing. He got all interested and started asking questions about […]
[…] I already had the campus board built earlier this winter, so I was all ready to go. Now that I’ve been using my board more, I would make a few changes […]
Did you buy the rungs or build your own. If that latter, how did you sand down the edges? Thanks.
The rungs are Metolius, and they come very nicely sanded.